
Buff & recoat
For floors where wear is mainly superficial and the existing finish is suitable for recoating after preparation.
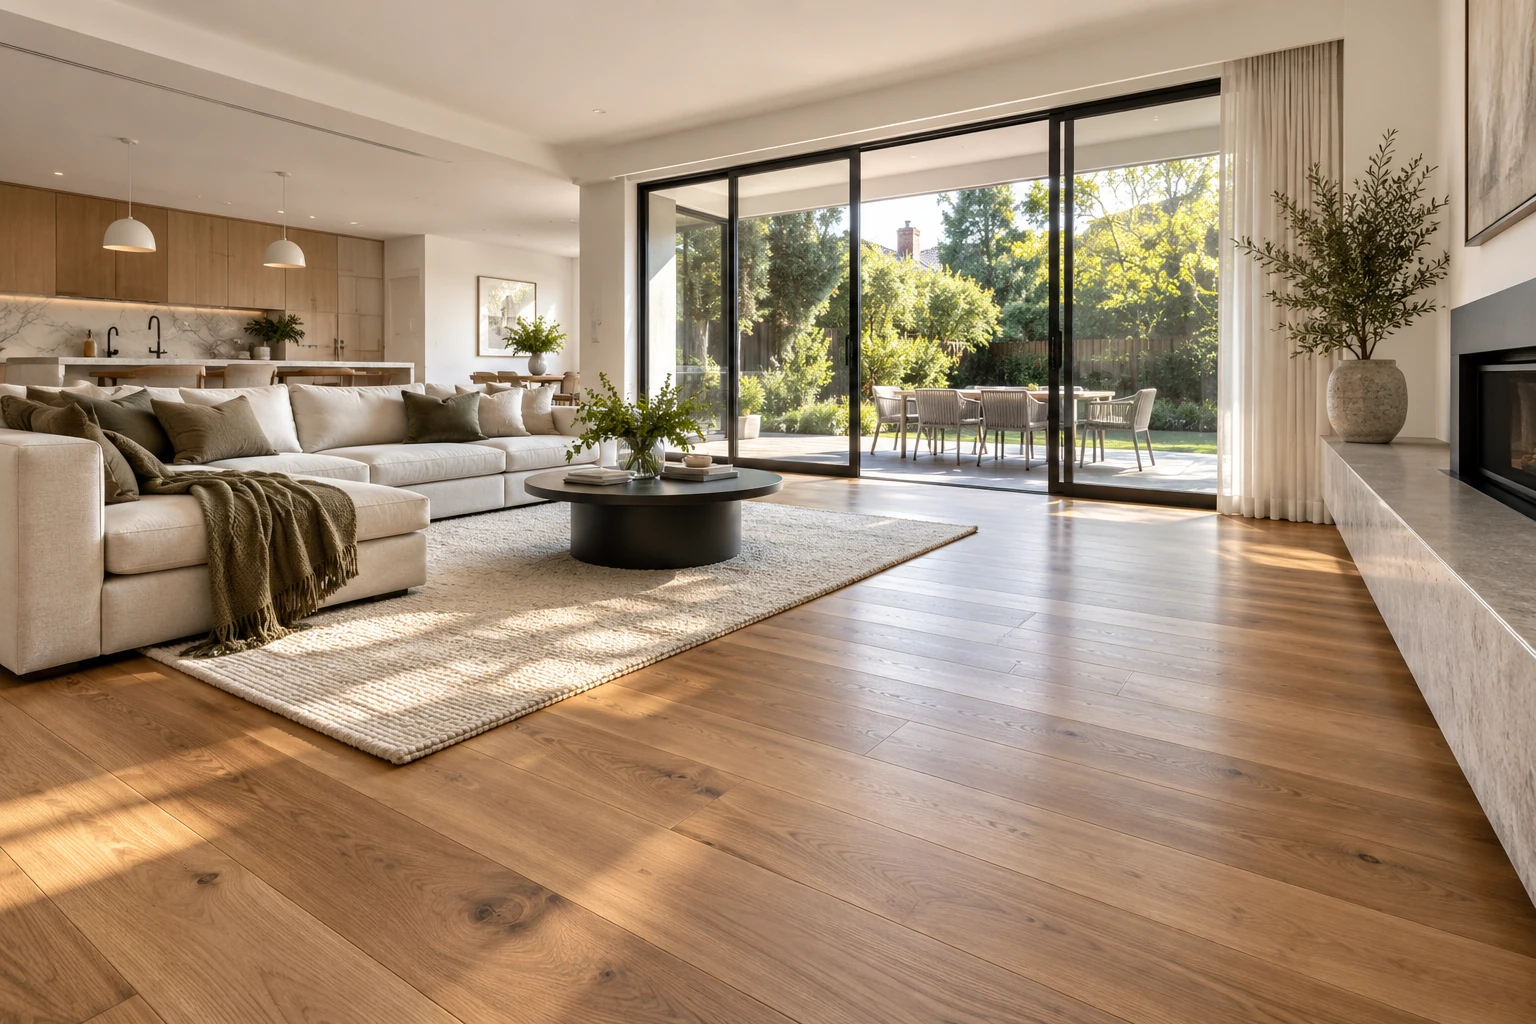
Restore worn, scratched or tired timber floors with staged sanding, careful surface preparation and a finish selected for the way your space is used.
Floor sanding removes the worn surface and old coating; polishing or refinishing rebuilds protection and sheen. Light surface wear may only need buffing and recoating, while deeper scratches, old coatings, stains or uneven wear usually need a full sand and refinish.
Good timber floors rarely need to be hidden simply because the finish is worn. Sanding removes the damaged surface in controlled stages, exposing clean timber so repairs, staining and the final coating can be carried out on a consistent base.
Melbourne Sanding works on residential and commercial timber floors in and around Melbourne, including parquet, pine, hardwood and engineered surfaces. The appropriate treatment depends on the timber species, floor construction and remaining wear layer.

“Polishing” is often used as a broad term, but the treatment can range from a light buff and recoat to a full sand and refinish. The right option depends on whether damage is mainly in the coating or has reached the timber itself.
Over-sanding wastes timber; under-preparing leaves defects visible. These three treatment levels make the decision clearer before quoting.
For floors where wear is mainly superficial and the existing finish is suitable for recoating after preparation.
For deeper scratches, worn-through coating, uneven colour, old finish build-up or a broader restoration.
For floors that need both surface restoration and a deliberate colour change before the protective finish.
A site inspection is the safest way to confirm which level applies, especially on engineered timber where the thickness of the usable wear layer matters.
The floor should get progressively cleaner, flatter and more consistent at each stage. Rushing preparation only makes the final coating reveal the shortcuts.
Check timber type, current coating, scratches, stains, movement, repairs, access and any areas that may need board replacement.
Confirm furniture access, edge protection, ventilation and any repair work needed before sanding starts.
Use progressively finer sanding stages to remove the old surface and reduce sanding marks rather than trying to finish in one pass.
Blend edges, corners, thresholds and repaired areas so they do not read separately after coating.
Apply the agreed coating or finishing system in accordance with the product and floor requirements.
Explain when the floor can accept socks, furniture, rugs and normal traffic based on the actual finish used.
This is one of the most common pre-quote questions. The condition of the coating versus the timber underneath is the key distinction.
| Floor condition | Usually considered | Why |
|---|---|---|
| Dull surface, light traffic marks | Buff / screen and recoat | The damage may be mainly in the top finish rather than the timber. |
| Deep scratches into bare timber | Full sanding and refinishing | A fresh top coat alone will not level damage below the existing finish. |
| Patchy old coatings or paint | Full sanding and preparation | The old surface generally needs to be removed for a consistent new system. |
| Colour change wanted | Sand + stain + finish | Stain needs properly prepared timber; coating sits over the colour step. |
| Engineered timber | Inspection first | The wear layer must be suitable for the amount of sanding required. |
This table is a practical guide only. The correct treatment depends on timber species, current coating, condition and site inspection.
A single square-metre number hides the conditions that actually drive labour, abrasives, repairs, coating use and return visits.
Open rooms are faster than many small rooms, stairs, edges and thresholds with the same total area.
Paint, heavy coatings, deep scratches, cupping, stains or damaged boards change preparation time.
Product type, sheen, number of coats and curing requirements affect the job sequence.
Furniture, occupied spaces, stairs, parking, power and access can change how the work is staged.
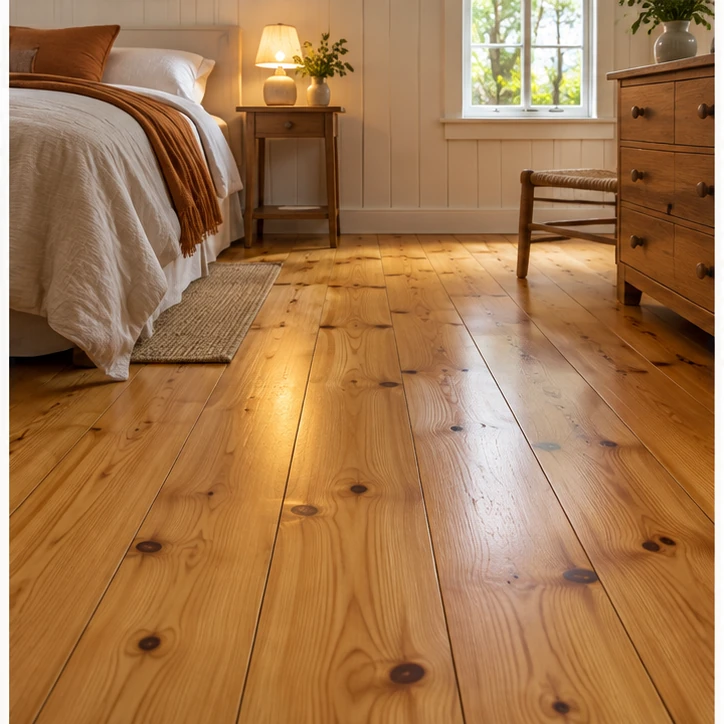
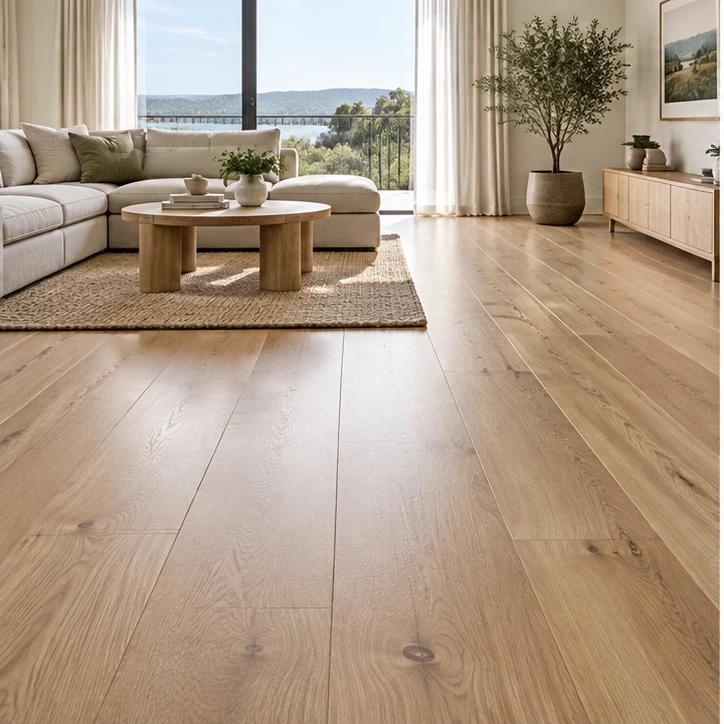
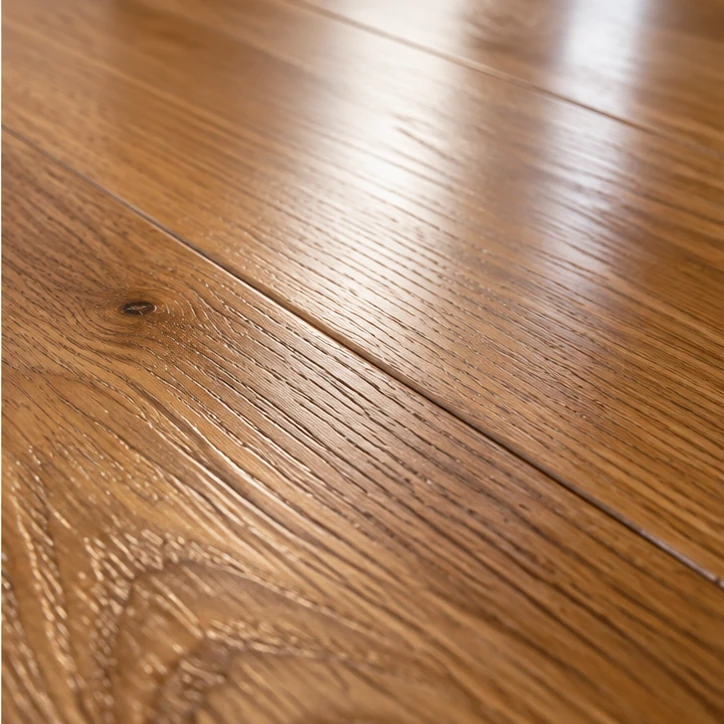
A look at the range of timber floor tones and finishes Melbourne Sanding works with.
The quote depends on area, layout, floor condition, existing coatings, repairs, access and the finish system selected. A fixed online rate can be misleading when two floors of the same size need very different preparation.
Professional extraction and modern sanding equipment can substantially reduce airborne dust, but “zero dust” is an absolute claim that depends on the equipment, edges, room and site conditions. The practical goal is a controlled, clean sanding process with extraction used throughout.
That depends on the actual coating system and site conditions. Dry-to-touch, light foot traffic, furniture placement and full cure are different milestones, so the handover advice should follow the product used on your floor.
Many scratches and surface stains can be improved or removed, but very deep damage, pet staining, water damage or discolouration within the timber may remain visible or require local board repair. Inspection is needed before promising a complete removal.
Some engineered floors can be sanded if they have a sufficient real-timber wear layer; others should not be sanded aggressively. The construction and remaining wear layer should be checked first.
Generally the work area needs to be clear enough for sanding equipment to reach the whole floor safely. The exact furniture and access plan should be agreed before the job starts.
Move between related services without returning to the homepage.
Send the floor type, approximate area, suburb and current condition. Melbourne Sanding can then arrange the next step for an onsite appraisal and quote.