
New timber floor
A full new-floor installation where substrate preparation, layout and finishing can be planned as one sequence.
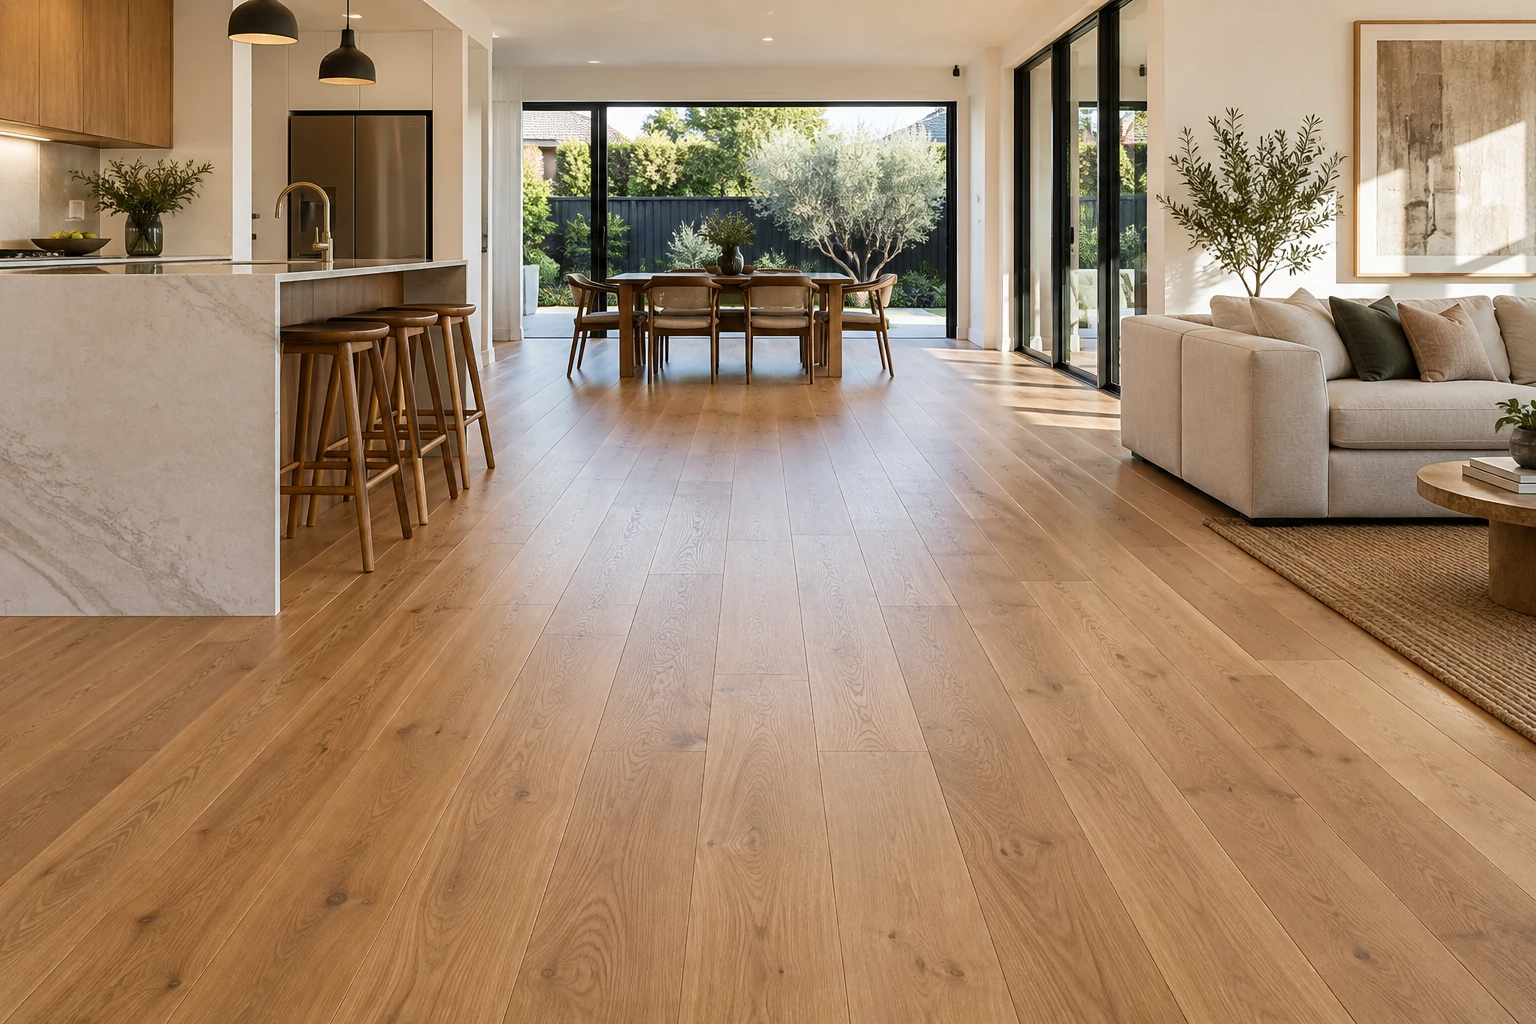
A good timber floor starts below the boards. Subfloor condition, moisture, layout, product requirements and finishing are planned before installation begins.
Timber floor installation starts with confirming that the subfloor is dry, stable, level and compatible with the flooring product. The installation method, expansion requirements, board direction, transitions and finishing sequence should be resolved before laying—not improvised after the first rows are down.
A straight, stable installation depends on conditions that are mostly hidden once the project is finished: the subfloor, moisture conditions, transitions, room geometry and how the chosen product is intended to be installed.
Melbourne Sanding’s installation service is built around professional wood floor fitting and attention to detail, from the first subfloor check through to the finished surface.
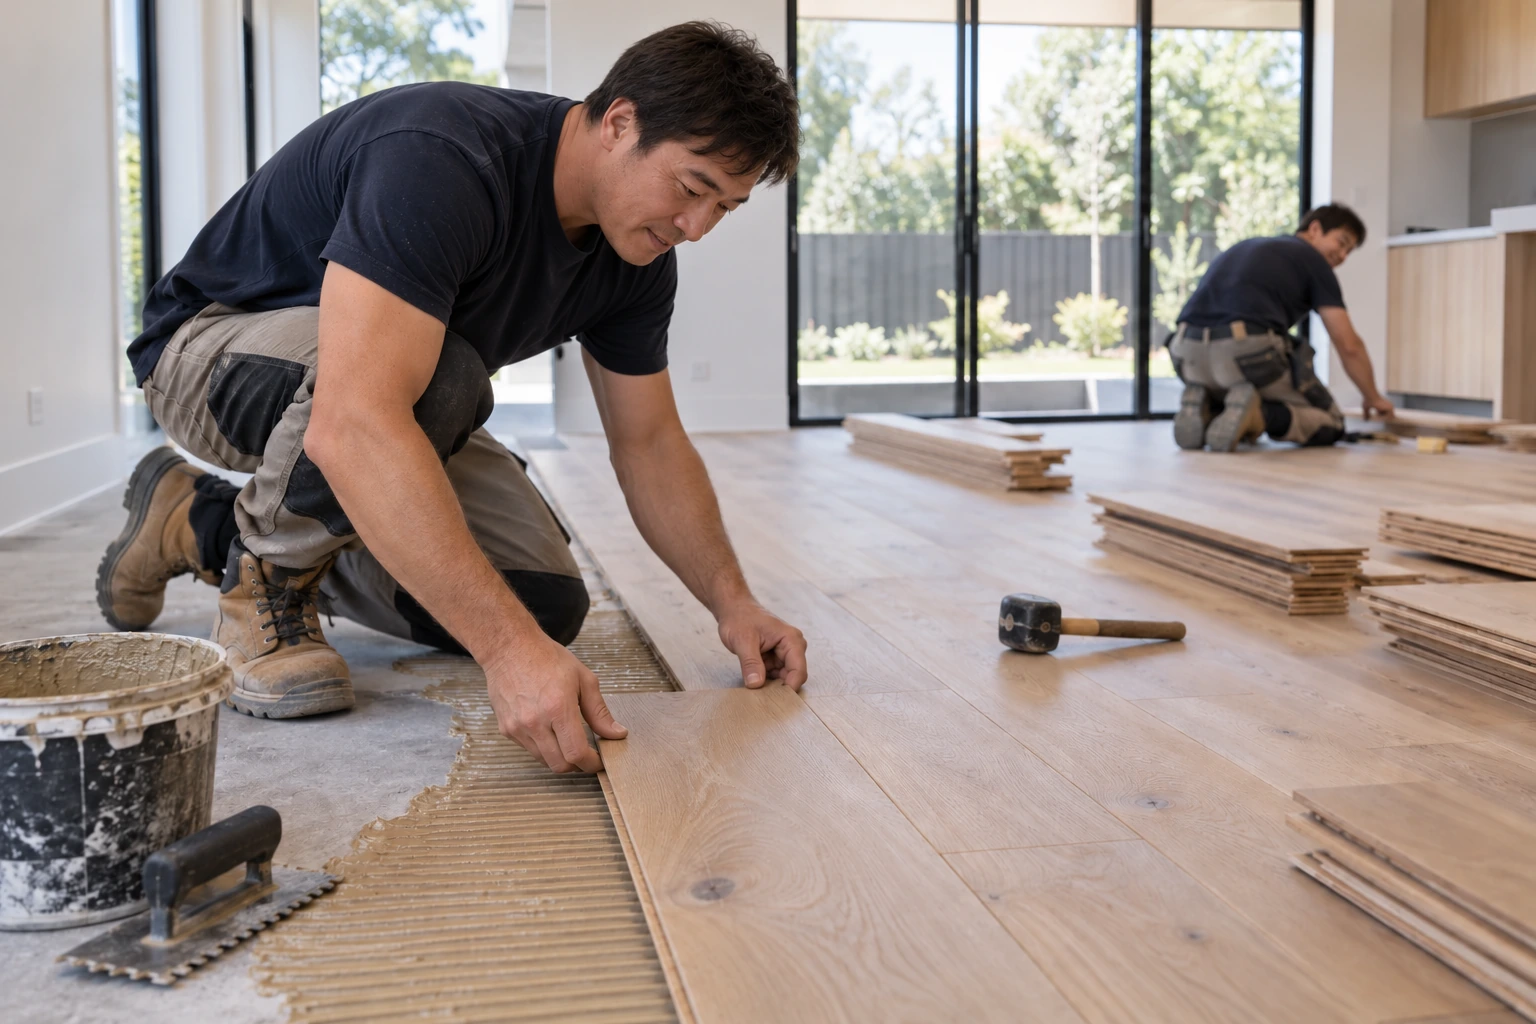
Flatness, moisture, movement and transitions affect how the boards sit and how the floor behaves over time. Product-specific requirements also matter, especially when engineered and solid timber systems use different installation methods.
These are the common categories to discuss at quote stage. The exact method still depends on the product manufacturer and existing substrate.
A full new-floor installation where substrate preparation, layout and finishing can be planned as one sequence.
A product-specific installation with method, wear layer, expansion and substrate requirements checked before work starts.
Local replacement or extensions where board size, species, profile, age and existing finish may affect how closely the new work can blend.
Do not select glue-down, nail-down or floating installation solely from a website description. The product specification and substrate should determine which methods are appropriate.
The goal is a floor that reads cleanly through doorways, transitions and long sight lines—not just a set of boards that technically cover the room.
Review substrate, moisture risk, existing floor removal, access, floor heights, transitions and room geometry.
Check board construction, dimensions, manufacturer requirements, finishing status and any conditioning requirements.
Correct issues that would prevent a stable, level installation before material is laid.
Establish board direction, starting line, cuts, transitions and how the installation will finish at visible edges.
Lay and fix the flooring according to the confirmed method, keeping alignment and joints controlled through the space.
Complete trims and, where required, coordinate sanding, staining or coating before final use and care guidance.
This checklist is more useful than choosing boards first and discovering site constraints on installation day.
| Item | Why it matters | What to confirm |
|---|---|---|
| Subfloor condition | Movement or unevenness can transfer into the finished floor. | Flatness, stability, cleanliness and any repair/preparation needed. |
| Moisture conditions | Timber moves with moisture; the substrate and site need to be suitable. | Product and site requirements before installation begins. |
| Flooring construction | Solid and engineered products can have different installation constraints. | Manufacturer specification and compatible method. |
| Finished floor height | New flooring changes thresholds, doors and transitions. | Adjoining floors, doors, stairs and trim details. |
| Final appearance | Board direction and starting line affect the visual result. | Main sight lines, focal walls, hallways and room-to-room continuity. |
This table is a practical guide only. The correct treatment depends on timber species, current coating, condition and site inspection.
Material price is only one part. Subfloor work, product format, layout complexity and transitions often determine the installation labour.
Long open areas differ from small rooms, hallways, stairs, angled walls and many doorways.
Levelling, repairs, removal or preparation can add substantial work before any board is installed.
Board size, construction, fixing requirements and whether the floor is prefinished or unfinished affect the sequence.
Door thresholds, stairs, trims, occupied areas, material handling and site access influence installation time.
A look at different rooms, board directions and floor materials from Melbourne Sanding installations.
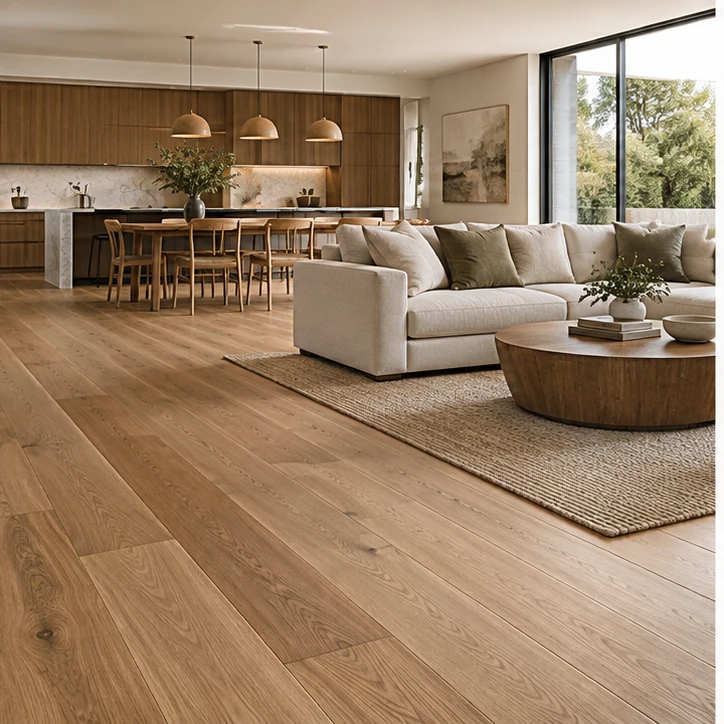
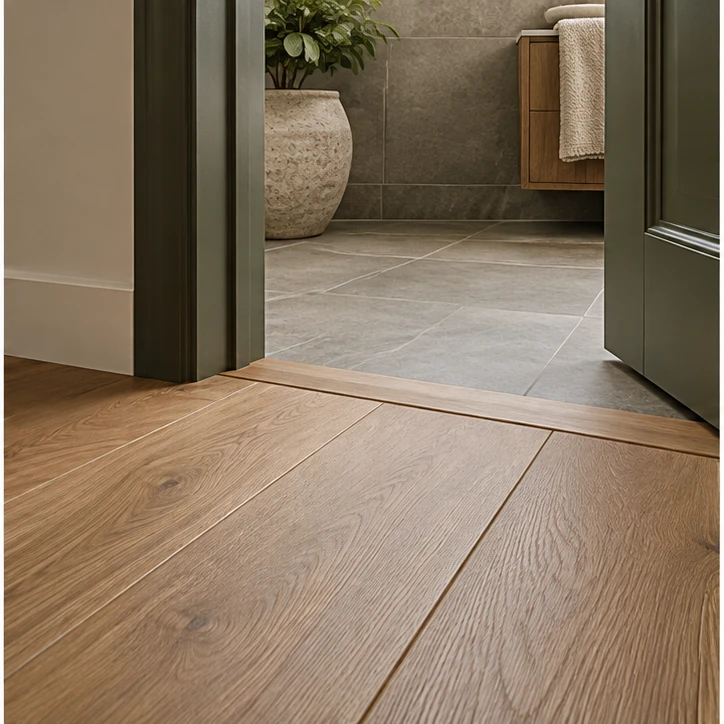

The installed cost depends on area, flooring product, subfloor condition, preparation, room geometry, access, transitions, trims and whether sanding or finishing is required afterward. A product-only square-metre rate does not describe the whole scope.
If the substrate is outside the flooring system’s allowable flatness or stability requirements, preparation is needed first. The correct tolerance depends on the product and installation system.
Often yes, but the substrate left behind needs to be assessed. Adhesive residue, height changes, cracks, moisture or unevenness may need correction before timber flooring can be installed.
No. Both are timber flooring categories, but their construction and manufacturer requirements can differ. Installation method, expansion, wear layer and finishing should follow the actual product specification.
A close blend may be possible when species, board dimensions/profile and finish can be matched, but age and colour change in the existing floor can make a perfect match unrealistic. This should be assessed before material is ordered.
Yes when the selected flooring is unfinished or the project scope requires site finishing. The installation, sanding, staining and coating sequence should be planned together so curing and access are realistic.
Move between related services without returning to the homepage.
Send the floor type, approximate area, suburb and current condition. Melbourne Sanding can then arrange the next step for an onsite appraisal and quote.