
Warm natural tones
Enhance timber warmth while keeping the floor close to its natural character and grain.
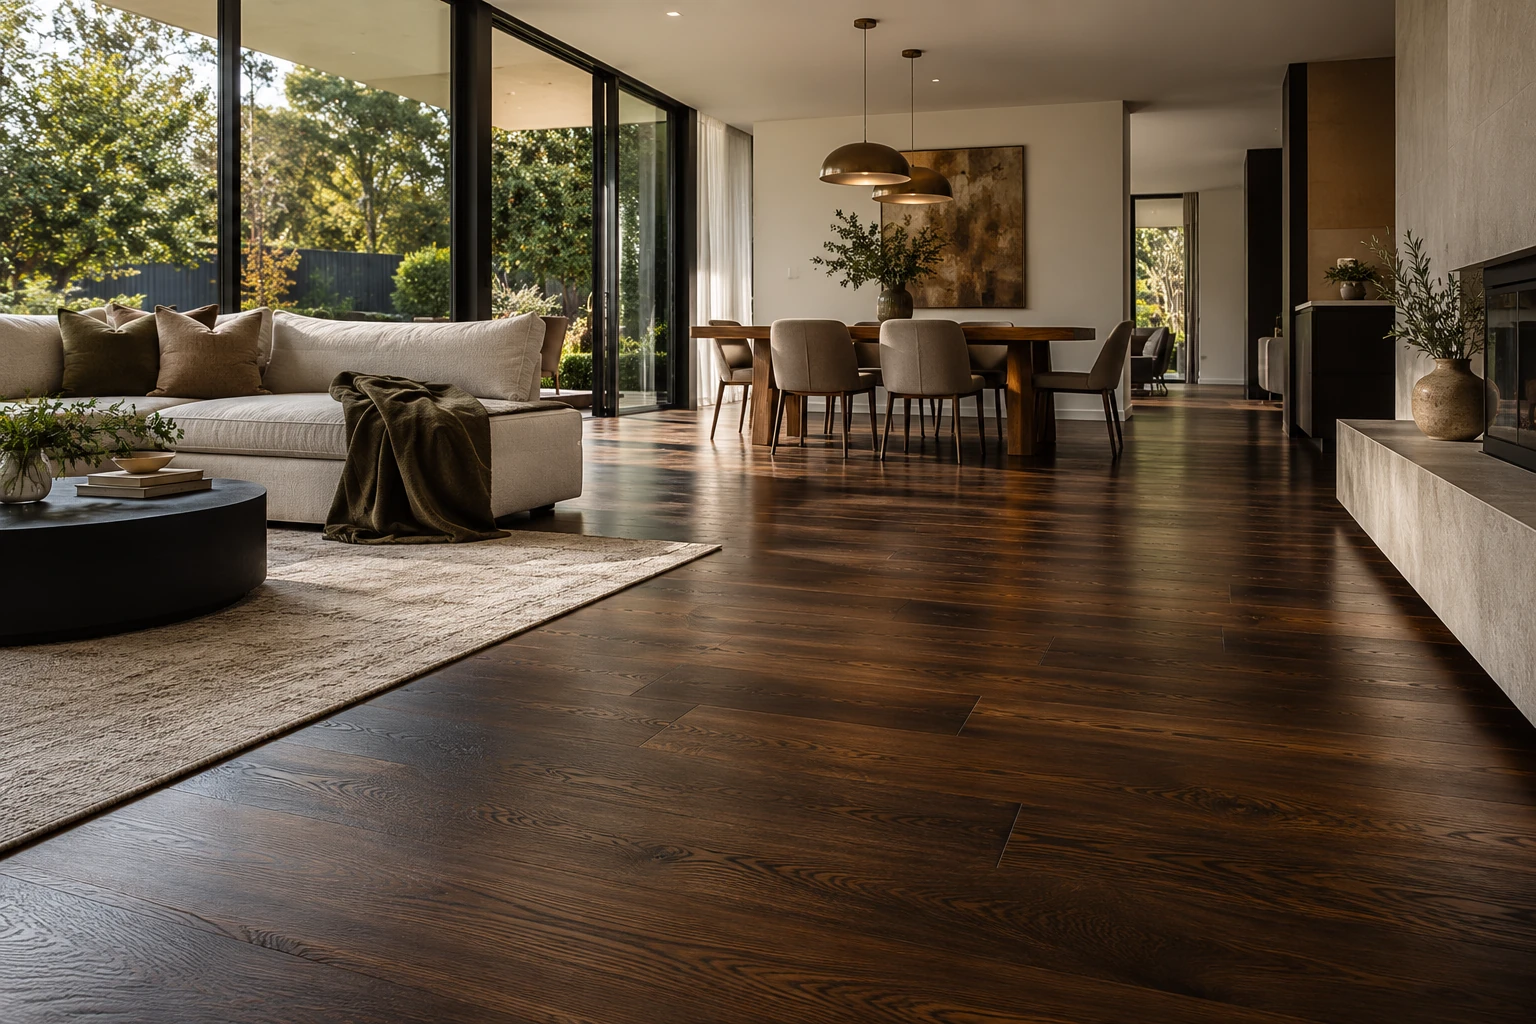
Change the colour of your timber floor without hiding the grain. The result starts with correct sanding, realistic colour sampling and a compatible protective finish.
Staining changes the colour of timber; finishing protects the surface. A stain is normally applied to properly prepared bare timber, then—where specified—covered with a compatible protective coating. The same stain can look different on different timber species, so sampling matters.
Timber stain is not paint. It interacts with the natural grain, colour and porosity of the wood, which is why a colour chosen from a small sample board cannot be assumed to look identical on every floor.
The current Melbourne Sanding service explains the important distinction clearly: staining is the colour-changing step, while finishing is the protective coating step. Keeping those decisions separate produces a more predictable specification and makes it easier to discuss sheen, durability and maintenance after the colour is chosen.
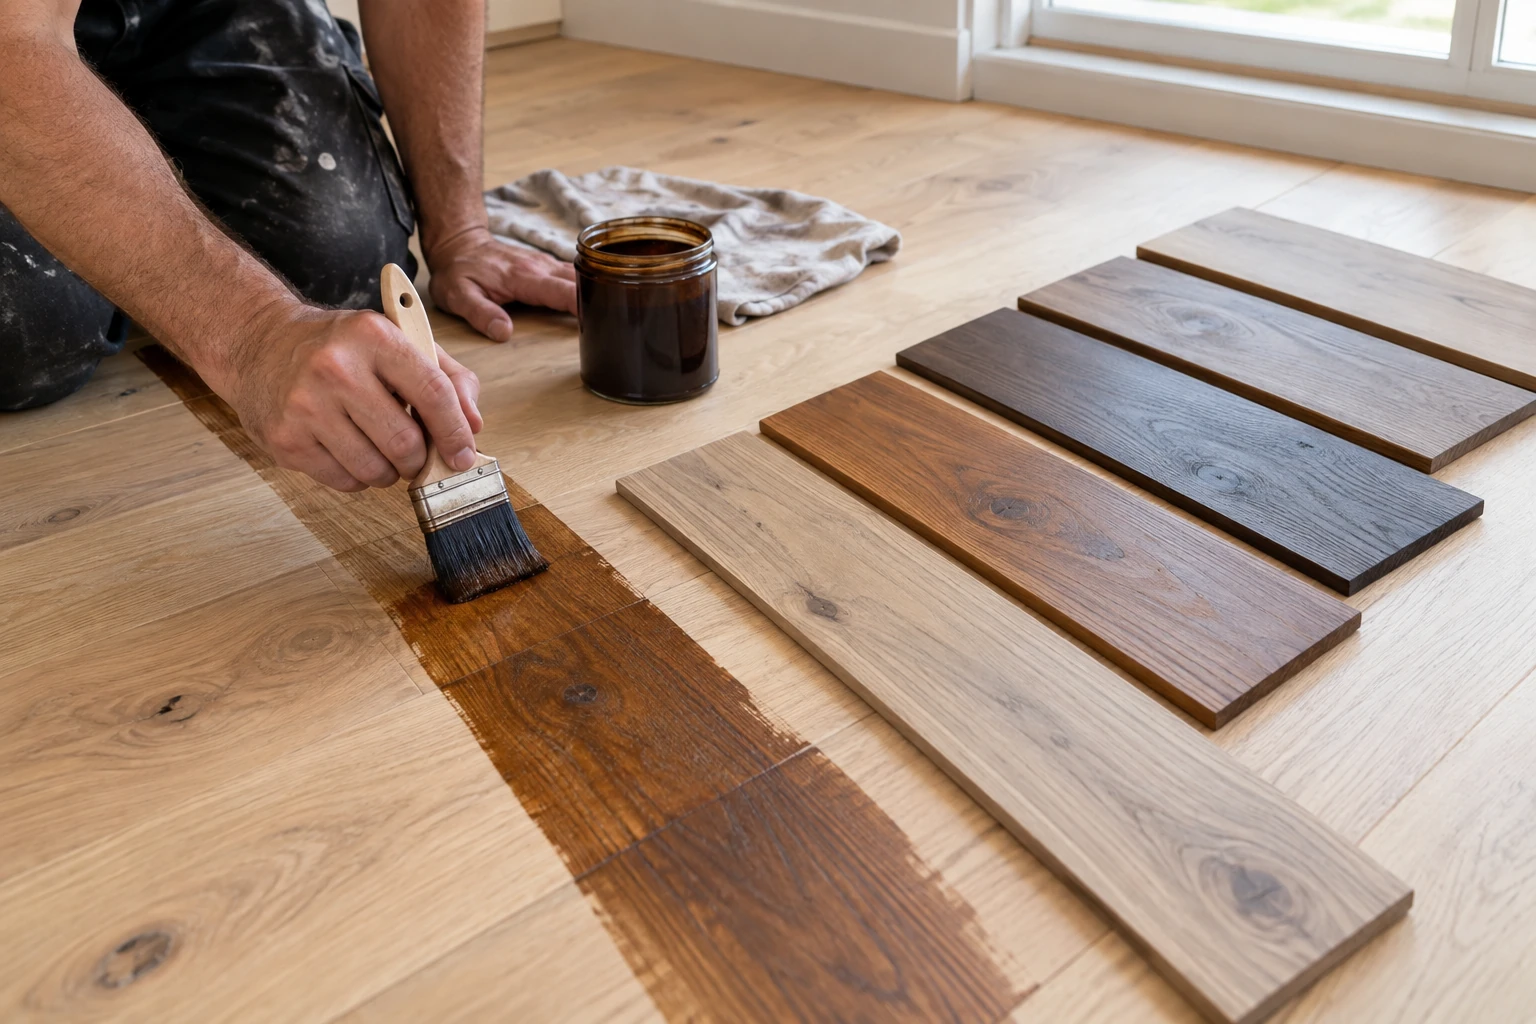
Species, age, previous staining, repairs and natural colour variation all influence the final appearance. That is why colour selection should be treated as a floor-specific decision rather than a promise based on a phone screen.
A small number of clear colour families makes selection easier than comparing dozens of near-identical swatches before seeing them on the actual timber.
Enhance timber warmth while keeping the floor close to its natural character and grain.
Add depth or reduce a pale/orange appearance, subject to the natural undertone of the timber.
Create a softer, washed or cooler direction where the timber and selected system are suitable.
Melbourne Sanding’s current gallery includes a Baltic Pine lime-white example. Exact colour names and products should be tied to the coating system actually used on the project.
The safest staining workflow gives you a prepared base, realistic samples and enough time to confirm the direction before the protective finish is applied.
Identify species if possible, existing coatings, repairs, stains and any sections likely to react differently.
Remove the old finish and produce a consistent bare-timber surface suitable for the selected stain system.
Test shortlisted colours on the actual prepared floor or comparable timber and view them in the room lighting.
Choose the tone with the timber’s natural variation in mind rather than expecting a perfectly flat paint-like colour.
Work methodically to avoid lap marks, uneven absorption and unnecessary overlap.
Where specified, apply the compatible finish and follow the correct drying and curing sequence before handover.
These terms are often mixed together in quote requests. Separating the desired outcome makes the scope clearer.
| What you want to change | Relevant step | What it changes |
|---|---|---|
| Floor colour | Staining | Changes tone while keeping the timber grain visible. |
| Surface protection | Finishing / coating | Adds the protective wear surface and influences sheen. |
| Dull but acceptable colour | Recoat may be enough | If colour is already right and the coating is suitable, staining may be unnecessary. |
| Old colour + worn finish | Sand + stain + finish | Resets the surface, changes colour, then rebuilds protection. |
| Patchy repairs or mixed boards | Sampling / assessment first | Different boards may take stain differently and may need a deliberate blending strategy. |
This table is a practical guide only. The correct treatment depends on timber species, current coating, condition and site inspection.
Staining is inseparable from preparation quality. The colour step may be quick compared with the work needed to create a surface that accepts it evenly.
Existing coatings, old stain and uneven sanding determine how much preparation is needed before colour can be applied.
Porosity, natural undertone, age and repairs affect how consistent a selected stain can look.
Stain type, colour depth and any sample process influence materials and site time.
The compatible topcoat, sheen and number of coats determine the post-stain sequence and curing time.
A look at different colour outcomes and finish tones Melbourne Sanding works with.
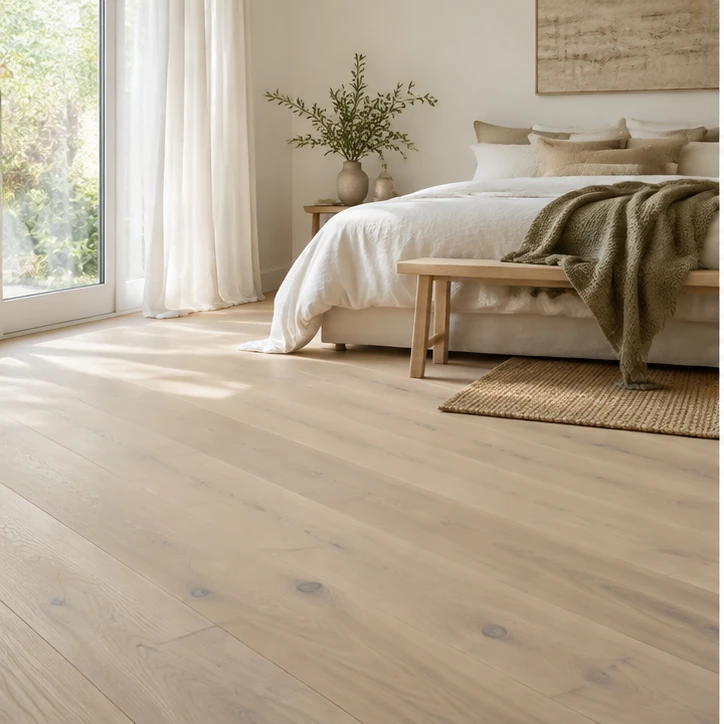
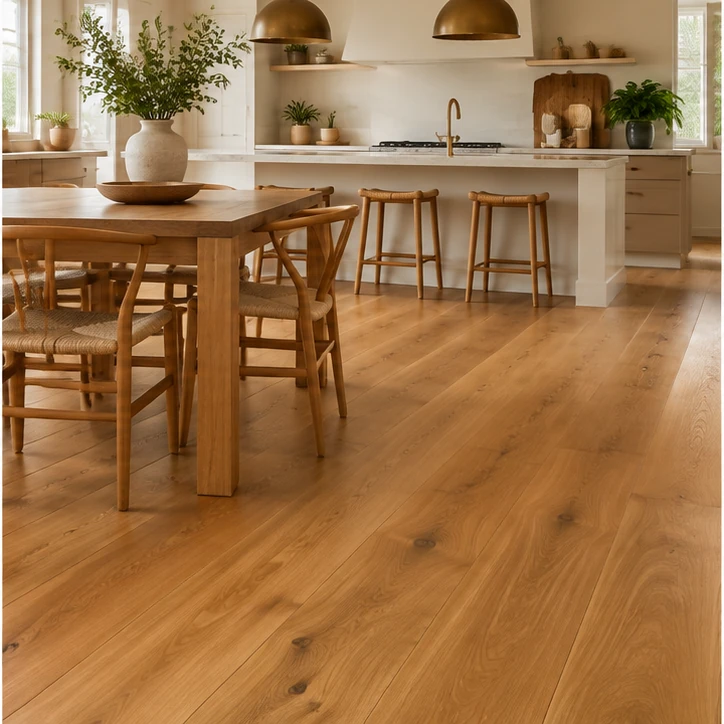
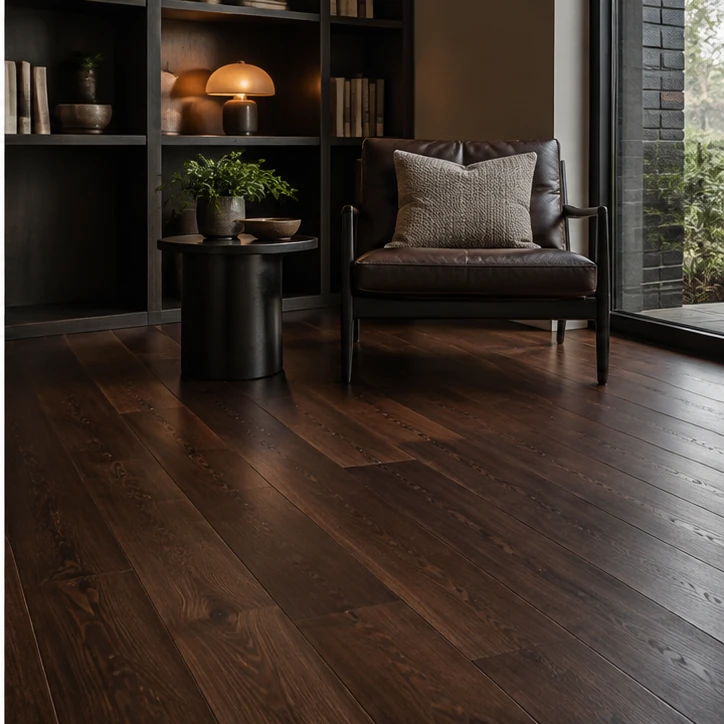
Staining changes the colour of the timber. Finishing or coating protects the surface and determines properties such as sheen and wear behaviour. A project can include both, but they are different steps.
Usually stain needs clean, consistently prepared bare timber. Applying stain over an unknown or intact coating can prevent even penetration. The exact preparation depends on the existing floor and stain system.
No. Timber species, age, undertone, grain, sanding and lighting all affect the final appearance. A sample on the actual prepared floor is more reliable than a printed or screen colour.
Stain is primarily a colour-adding process, so dramatic lightening is not always achievable with stain alone. What is possible depends on the species, existing colour and whether another finishing technique is appropriate.
A close blend may be possible, but an exact invisible match is not guaranteed because existing floors may have aged, ambered or been coated with a different product. A sample and side-by-side comparison are important.
Drying and curing depend on the stain and topcoat system, temperature, airflow, humidity and number of coats. The correct timeframe should be given after the actual products and job sequence are confirmed.
Move between related services without returning to the homepage.
Send the floor type, approximate area, suburb and current condition. Melbourne Sanding can then arrange the next step for an onsite appraisal and quote.